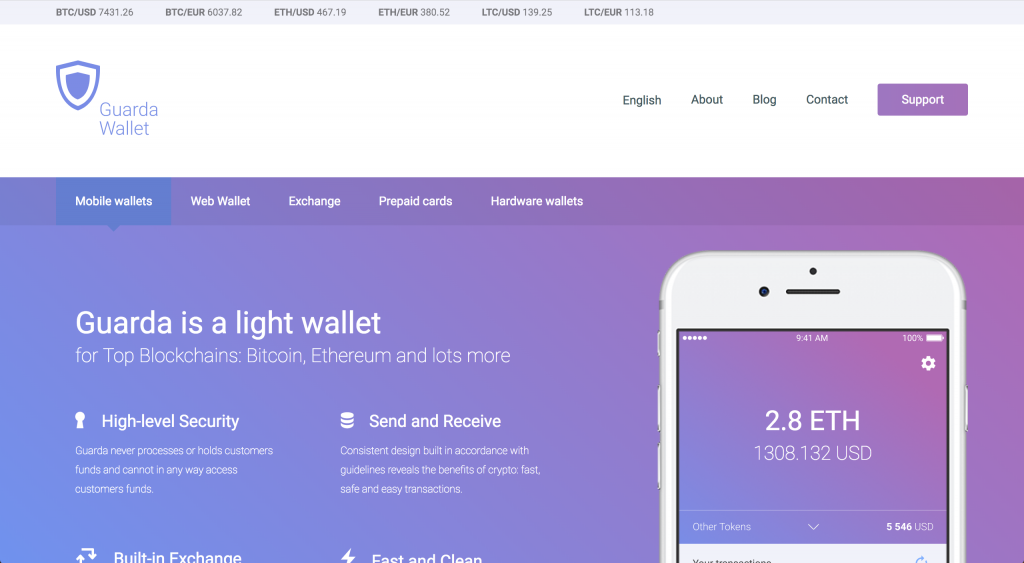
Guarda wallet is a secure and trusted multi coin cryptocurrency wallet. In this Guarda wallet review, we will discuss major features of Guarda wallets and Its support for Hardware Wallets as well.
Guarda is an EU-based company creating a complete cryptocurrency management ecosystem around lightweight custody-free wallets. Established in 2017 with the first open-source Ethereum wallet application being published, Guarda has been rapidly developing ever since. Currently, the product range has spread to multiple wallet versions, as well as additional services (for instance, crypto purchases and Guarda Token Generator).
Guarda Wallet is custody-free, multi-currency storage for crypto coins and tokens. The wallet comes in Web, Desktop (Windows, macOS, Linux, Ubuntu), Chrome Extension and Mobile (iOS and Android) versions. Single-currency Android applications, including Shielded Guarda for private Zcash transactions, are also available.
All the wallets provided by Guarda are non-custodial, so users have full control over their funds at all times. The applications and clients are free of charge and available on the wallets official website.
The key features of Guarda Wallet are:
- Security level. The wallet backups are securely encrypted and stored on the user’s device. Non-custodial storage enhances the security levels, as no third-parties get access to user’s funds.
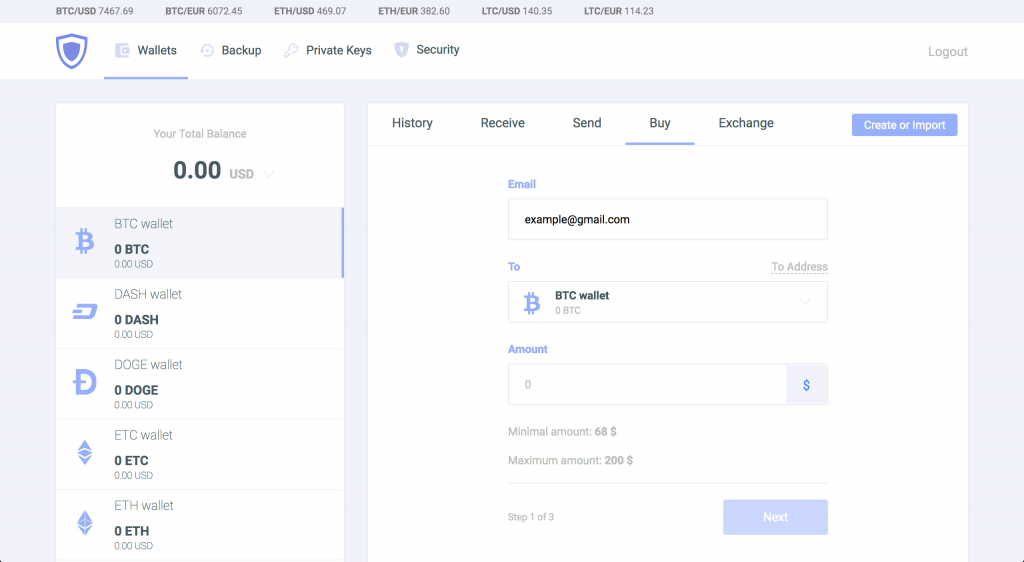
- Supported cryptocurrencies. If compared to other lightweight non-custodial wallets out there, Guarda does offer one of the widest supported crypto range. At the moment of writing, the wallets offered by Guarda offer the possibility to manage over 40 major blockchains (including but not limited to BTC, BCH, BSV, ETH, ETC, XMR, ZEC, XRP, EOS, USDT, TRON, LTC, XLM and DASH) as well as over 10.000 tokens.
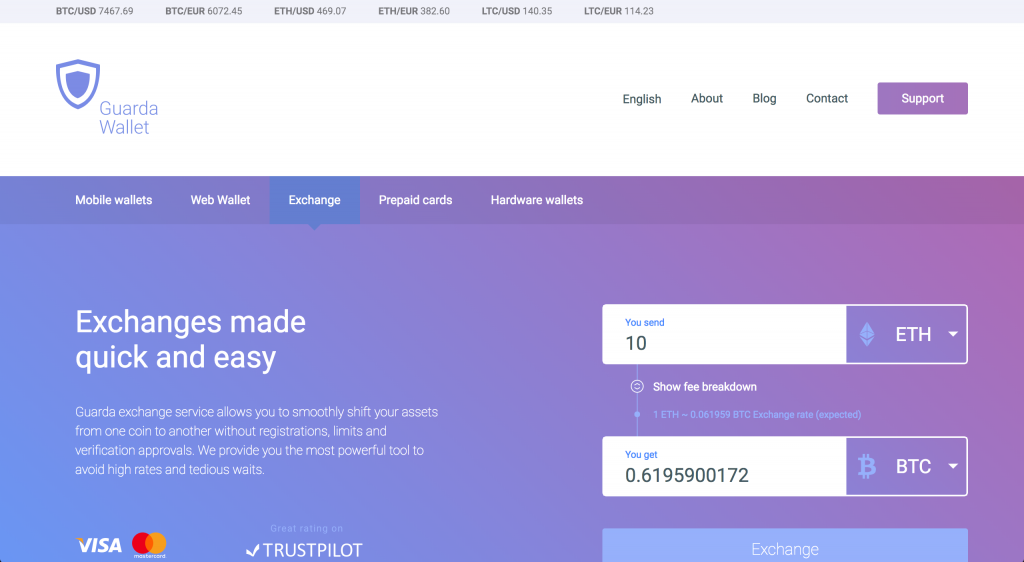
- Guarda has taken a sharp course towards functionality expansion. Hence, the wallets have built-in exchanges, purchases, soon-to-be cryptocurrency loans, currency-specific features (staking, delegation) and more.
- Ease of use. Even though Guarda is considered one of the more technologically advanced wallets out there, the user-friendly interface and attention to detail keep the storages suitable for both experienced users and crypto beginners.
- All the versions of Guarda can be syncronised across various devices for more convenience. Hardware wallet support is also there for die-hard crypto security fans – Ledger Nano S device can be connected to Web and Desktop versions of the wallet.
- The support line is 24/7 to answer all the questions of Guarda Wallet users. Besides, anyone can easily get in touch with the team on Twitter, Reddit, Telegram, Facebook or Discord.
How to create a wallet on Guarda
First of all, you need to choose the wallet version suitable for you. In this example, we will show how to create a Web wallet on Guarda:
- Go to the main page of Guarda’s website and click Create Wallet
- You will be redirected to the welcome screen – proceed by choosing to create a new wallet again.
- Protect your wallet with a strong password. You can use this wallet passport guide issued by Guarda Wallet team to help you get started.
- Download your backup. The wallet backup is truly the key to your funds – the access to your coins and tokens is only possible with a combination of the password and the backup. When saving the file, make sure you find a secure spot to store it in. The general advice here is that is way safer to store your backups offline.
- Your wallet has just been created!
If you are an experienced crypto adopter already and have other wallets for the currencies Guarda support, you can choose the “Import or restore” option, enter the private key for your wallet and get the funds on Guarda without the need to transfer them.
How to work with Ledger Nano in Guarda Wallet interface
- Create a Web wallet on Guarda. If you are not familiar with our wallets yet, here is a short video guide to help you get started
- Once you have created a wallet or sign in to your existing one, scroll the wallet list down and click “Connect” on the Ledger banner
- Connect your Ledger hardware wallet device to your computer, unlock it with a PIN code and select the currency you would like to work with both on Ledger and on Guarda.
- Press “Display Ledger Accounts”
- The accounts for the chosen cryptocurrency will be displayed on the screen – select the ones you would like to manage through Guarda and press “Add Accounts”
- As you have chosen everything you need, click “Go to Wallets” – your Ledger accounts will be displayed on the wallet list on the left
Guarda Wallet Review: Conclusion
Guarda is a well-established crypto wallet offering great cryptocurrency management features. The ecosystem is always expanding with new currencies and new features being added constantly. The interface of the wallet is user-friendly and easily understandable, which makes Guarda a great choice for those only starting their crypto journey, On the other hand, advanced features (especially the currency-specific options and hardware wallet integration) make these wallets a slip pick for more advanced users.


